Firebase
Creating the project#
Firstly log in on Firebase which can be found clicking here.
After that click the Create a project button

Choose a name, click next until you are in the dashboard.
Getting a service account info notepad#
Now go to the Settings tab.
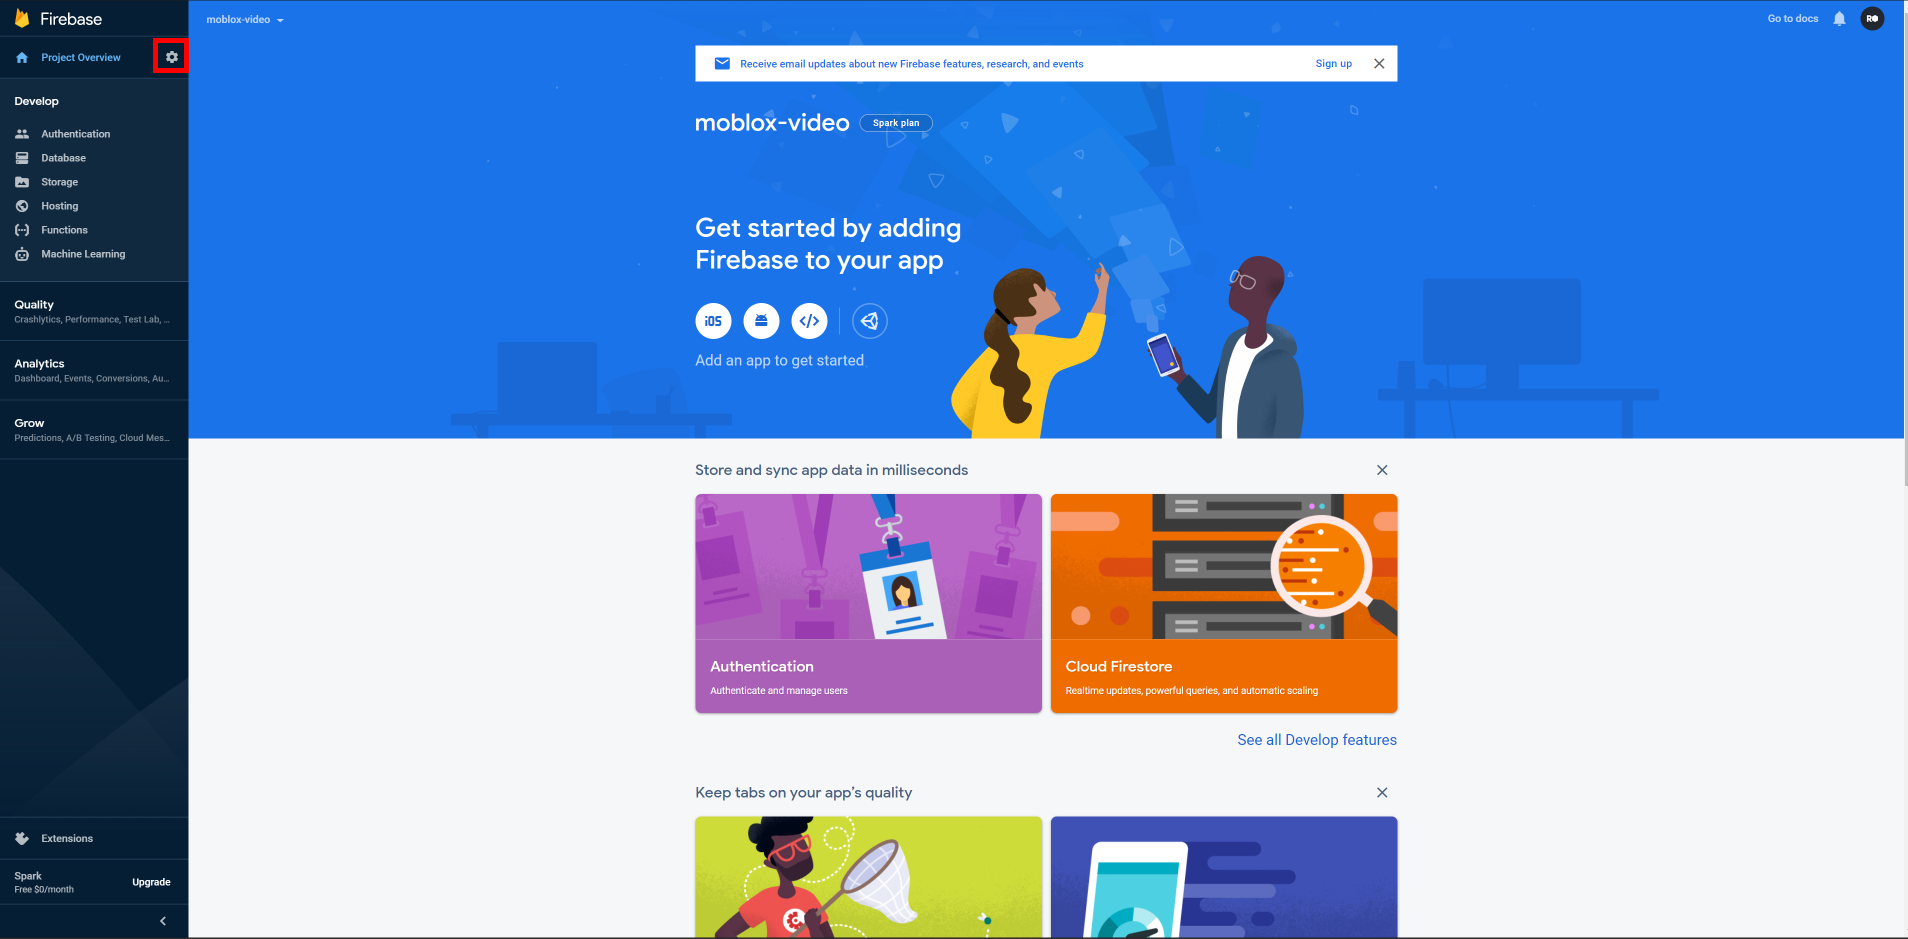
Select Project setting and go to Service Accounts.
After that download the service account notepad and keep it as we will need it later.
Database#
Now go back to the Firebase dashboard and select Database.
Click Create database and press Done until you are inside the dashboard.
After you are inside click Start collection and put the following order of names.
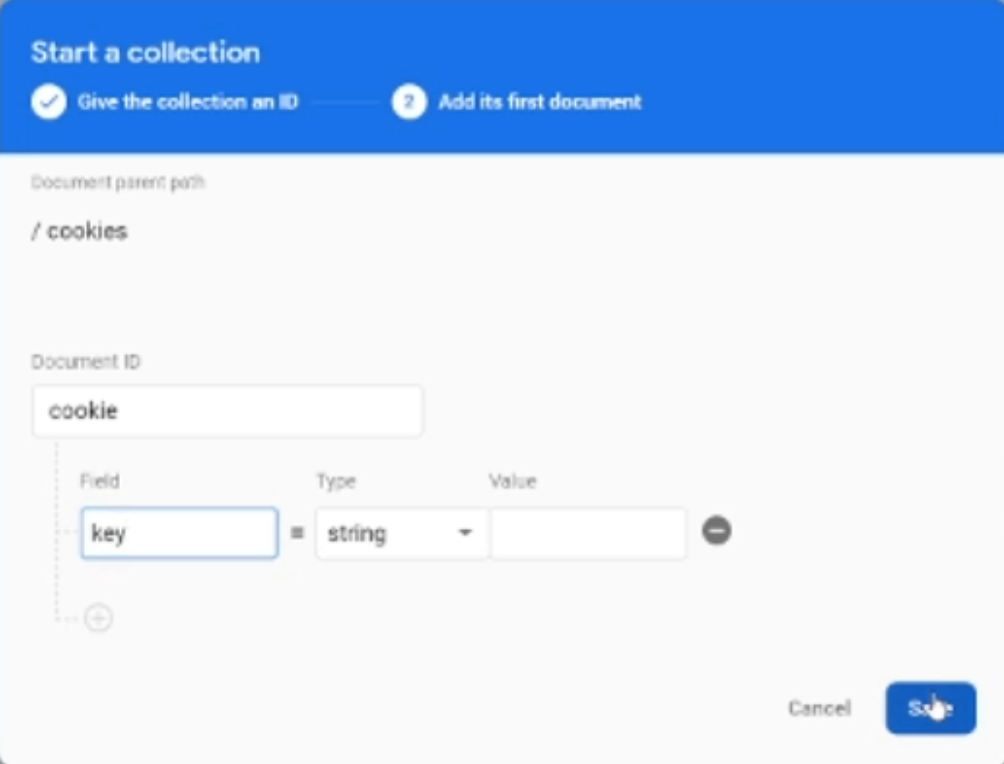
Put the collection name cookies. The document name cookie. And the Field name key and as string.
After you created your collection, document and field click the key value and put your Roblox cookie. Need help getting it? Click here!
You are done with the Firebase part after this. Lets go to the Heroku Hosting part.